Showing posts with label quinceanera. Show all posts

Thursday, April 14, 2011

Quick Quotes Design Team Call

For any of you guys who want to apply to be part of the first Quick Quotes Design Team (I know I do!), here is the link:
http://flairandfrillscreativity.blogspot.com/2011/04/quick-quotes-design-team-call.html

So here is what I am submitting *crosses fingers*


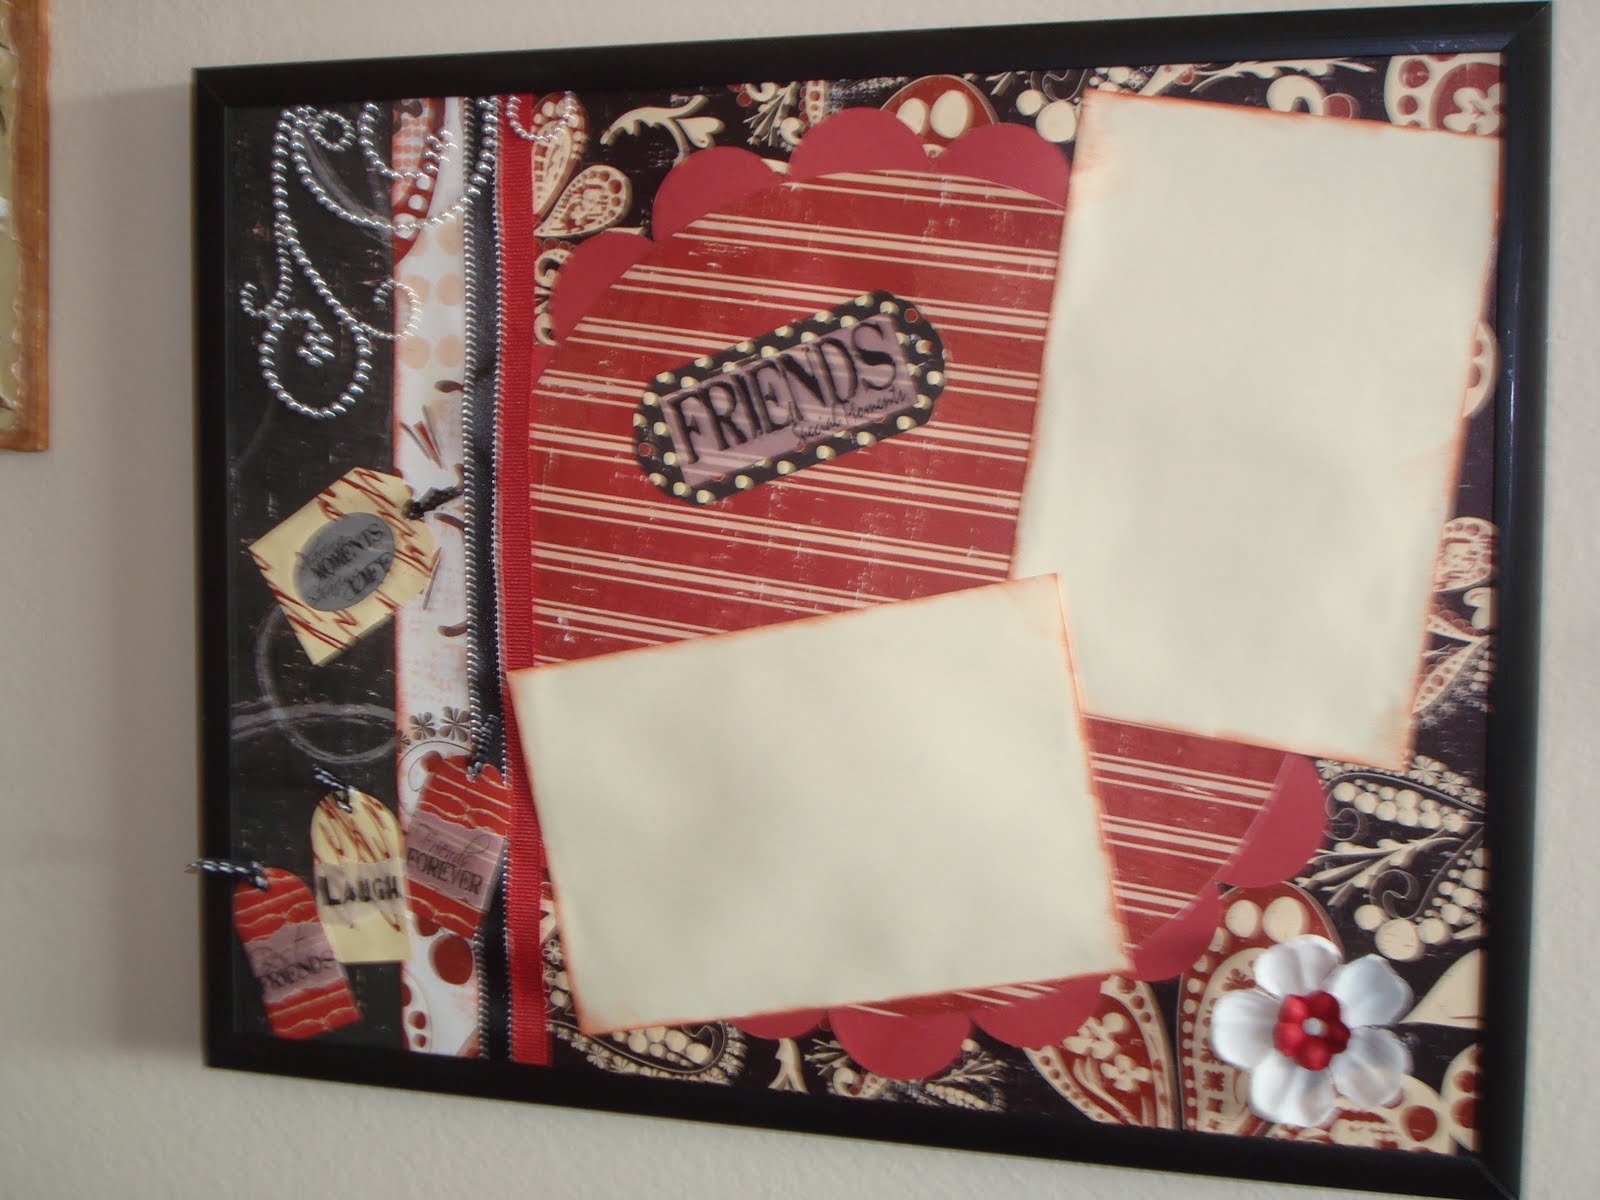
This first project is an ongoing project for me. This is a wall in my living room that I found some great frames super cheap since the glass was broken out of them. I am working on creating a frame collage in red/black/white to match my living room decor. When I move, I hope that this makes it way into my dinette area. The first picture is the whole wall area. Then a close up of each of the 3 frames. This is done with QQ paper (Joker's Wild line) some of their velum, along with other embellishments I had in my stash


This is a project you have seen before. These are the Quinceanera Centerpieces I am doing for a friend's family. They are 4 CD cases connected to form a box. I am partnering with another crafty friend who does silk flower arrangements so there will be while lilies in these for the Quinceanera. After the party, they are going to use these as gifts to friends and family. You can use them to hold anything. Pens, hair bows, your ribbon stash, candy, anything! I used Canvas Corp's new paper line and lots of stuff from my stash. Here are 2 sides, then close ups of the other sides.


Here is another project you have seen. This is the page I did for my January club, but I have added some extra embellishments to really take it up to the next level. This is using Bo Bunny paper and some Martha Stewart embellishments. 


This last project I made for my mom for Mother's Day. I used QQ paper and chipboard from the Mary's Garden line and I inked everything in Pink Cheeks.  I used my cricut to cut out the heart (Accent Essentials) and "MOM" (Mother's Day).


Well that's it! Cross your fingers for me :)

Still come back tomorrow for my promised baby shower cupcake toppers and my SAS card.

~Liz

Wednesday, March 9, 2011

Quinceanera Centerpieces

Hi Everyone!

This weekend I made some samples for a friend's niece's quinceanera. She wanted something unique and different that none of her friends were going to have and could use as gifts to some of the girls and close family. I sent the picture and she loved them! I was so excited. I'll know tonight if she decides to have me make them for her.

Her theme is black/white/yellow with zebra print. Her name is Clarissa. hence why I used a "C" of some of the sides. The block is made out of CD cases. I found it a long time ago on a blog somewhere and can't seem to find the link now..... There will be a short vase in the middle with a calla lilly arrangement another woman is making (I stick to the paper crafts! lol) She also did not want to use pictures on them which created a challenge for me. I scrap without pictures all the time, but I always have photo mats to put pictures on. I had to figure out how to make the mini-layouts look finished without a picture.

I got most of the supplies at my local Archivers Store along with a couple of things from Joann Fabrics. Got out the cricut and went to work! I made 6 samples, but these are the 4 that she likes best (and I completely agree)
This one has to be my favorite. 

Here is a side view. You can see that the rose and ribbon are not glued down yet. They are going to go on the outside of the cube once I put it all together. (more pictures on this later)

This bling swirl will go on the outside of the cube. I added a feather to this one to tie in another theme. Some of the tables with have tall vases with large yellow feathers, and other tables will have these ones.

 This one is a lot of other people's favorite. The 3 yellow glitter dots will go on the outside of the cube

 I made this one with a fabric flower I learned how to make at the Quick Quotes private reserve last year. I love the way it looks with a paper rosette on top of it. I flocked the brad myself (it was white to start with) and used some bakers twine.

 Here is a side shot of the fabric flower. It will also go on the outside of the cube.

 This is what the cube will look like put together. You can see that some of the elements from the pictures above are missing. Those are the things that will get glued to the front/outside of the CD case. I didn't want to fully glue them until I get the go-ahead from the client.

Another shot of the put together cube. You can see one of the samples I am not using in this one

I really couldn't be happier with how these turned out, especially since I got all of them done in 1 day! I hope they are a big hit at the party!

~Liz
Related Posts Plugin for WordPress, Blogger...